After the Asset Naming Assistant app is installed, all users within your Eloqua instance can access the app.
Admin Settings & Controls
Oracle Eloqua Assets
You can choose which assets the Oracle Eloqua Naming Asset Assistant will be used for.
- Click the Oracle Eloqua Assets tab. You can create 9 types of assets from the application: Campaign, Email, Form, Landing Page, Segment, Program, Shared Filter, Shared List, and Dynamic Content. You can rename only 6 assets, as cloud view for the other 3 assets is not permitted. The assets that cannot be renamed from the application are: Shared List, Shared Filter, and Dynamic Content.
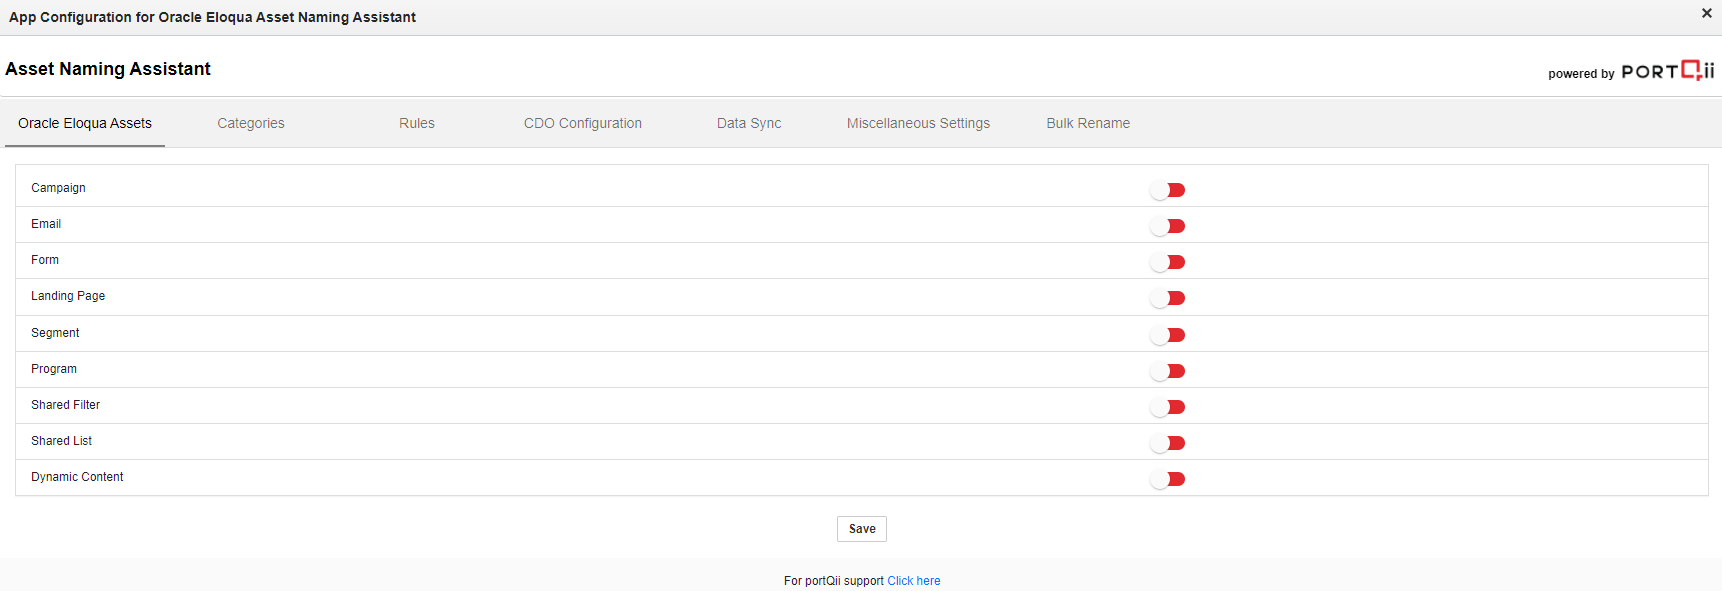
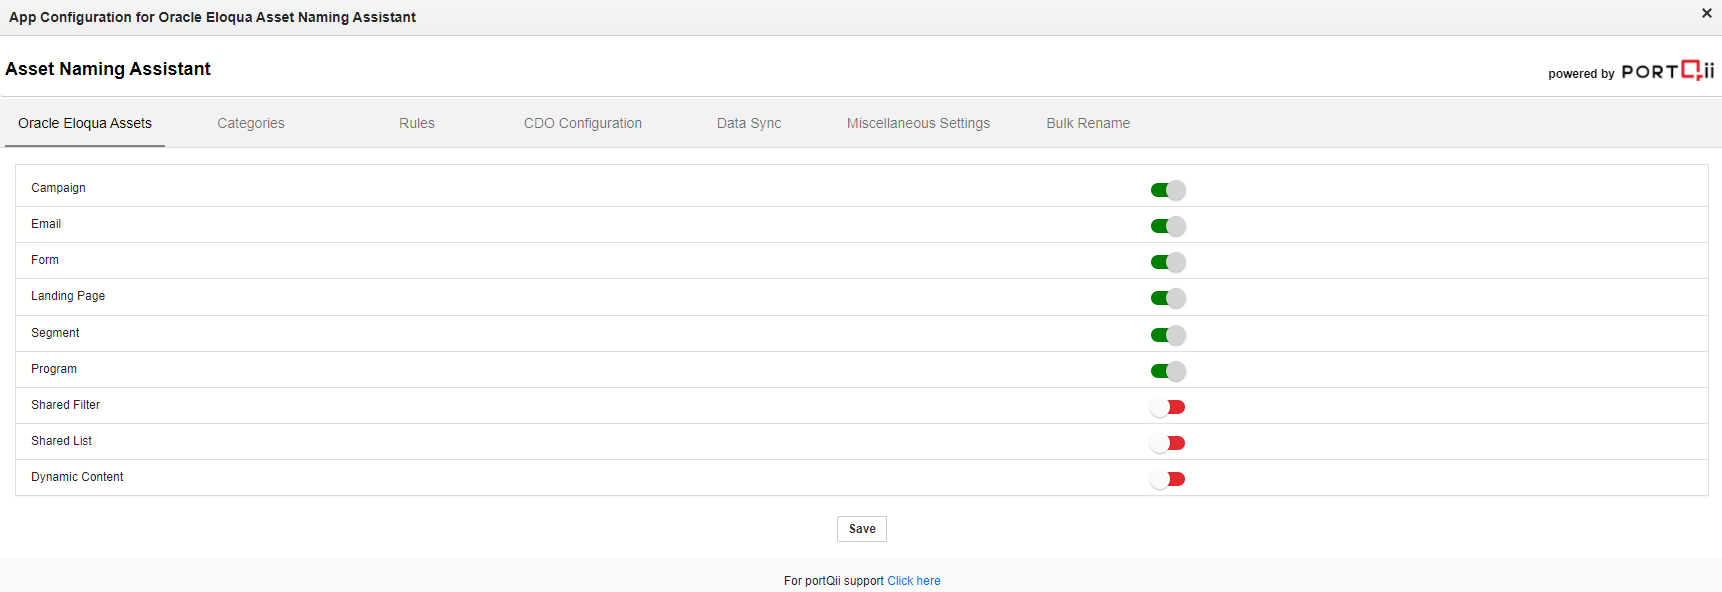
- When you toggle a particular asset to the right, you see a green color on the button which indicates that the asset is enabled.
- You can enable all the required assets and click the Save button to save the changes.
- A "Saved" message displays beside the save button indicating the changes are saved.
- Using this tab, you can configure which assets users can select to create and rename from the application.
Categories
You can build the list of categories that will appear for marketers to set against assets.
If you're using the app for the first time, your Categories will be blank. Otherwise, pre-existing categories display when opening the Category tab.
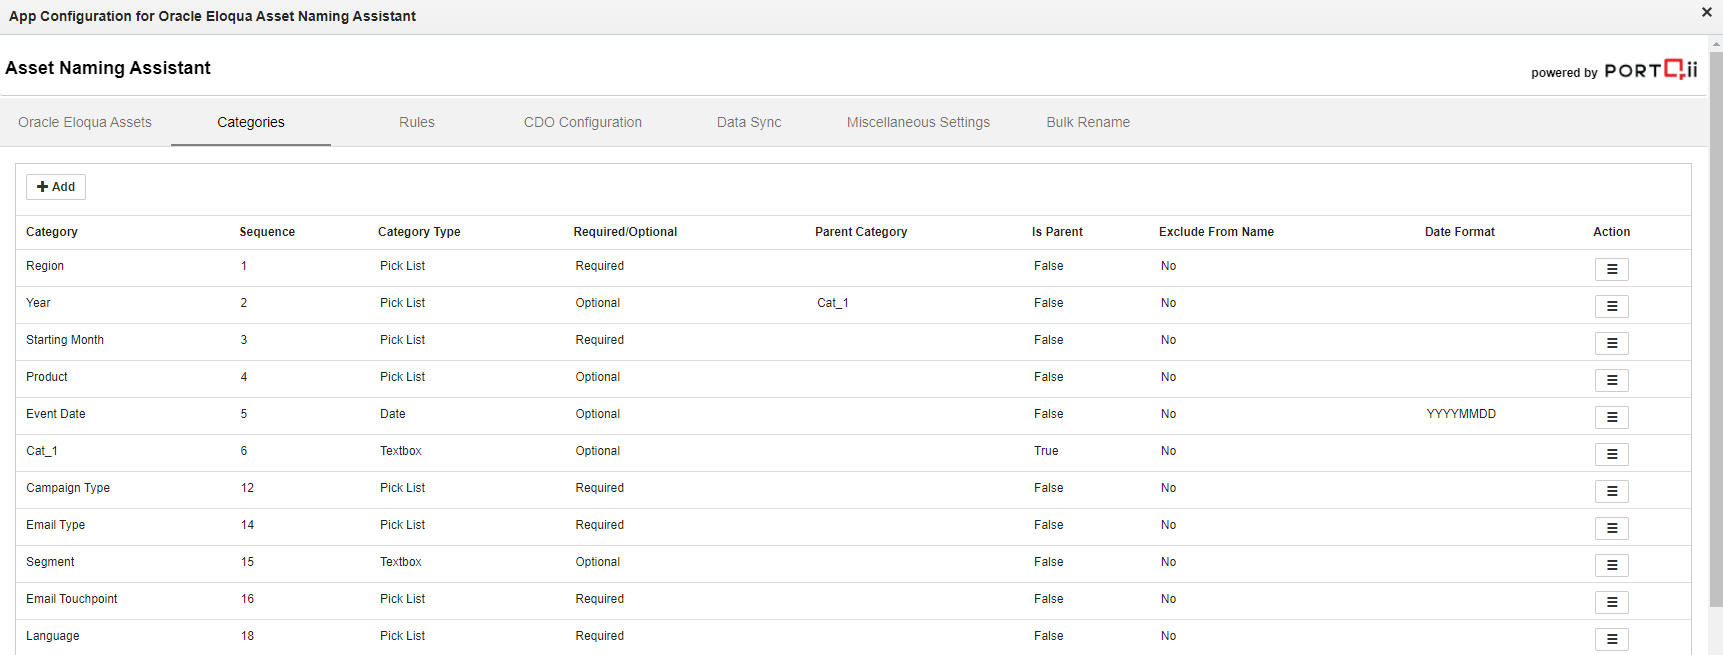
Categories are the part of the asset name that will form the asset name when various categories are enabled.
- Categories can be of 3 types:
- Textbox: where you can type any value
- Date: where you can input only a valid date in the format MMDDYYYY
- Picklist: you can create a picklist of your own using the app or use the Eloqua picklist

Adding a Category
Create a new Category by clicking the Add button at the top left corner of the page.
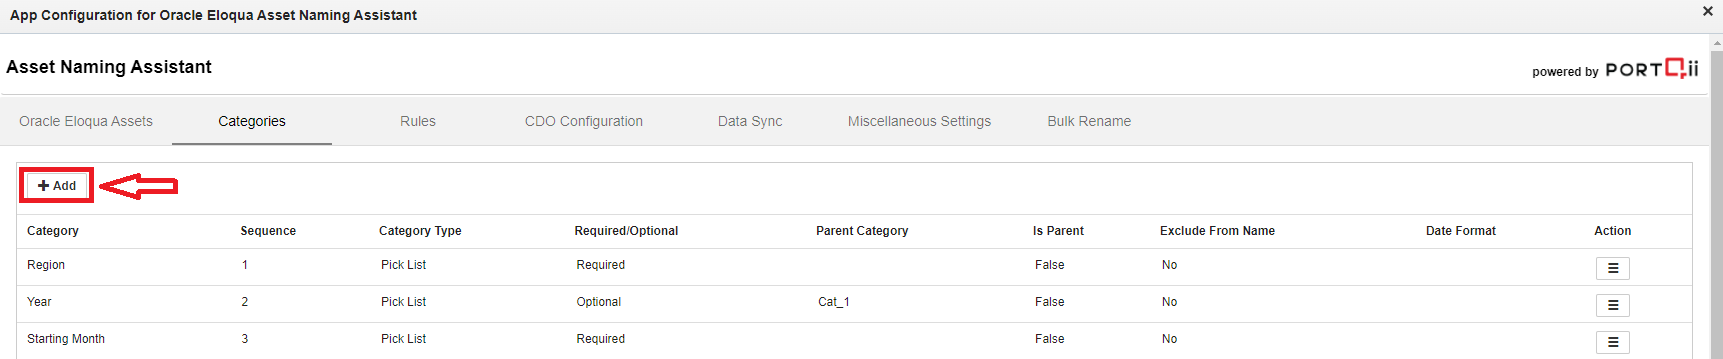
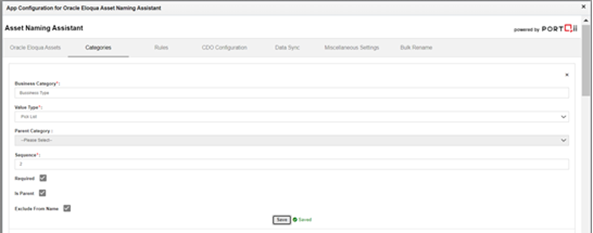
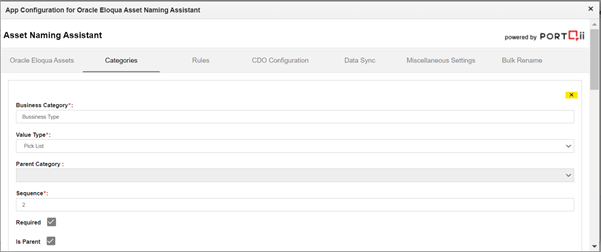
When you click the "Add" button, a screen opens with the following fields:
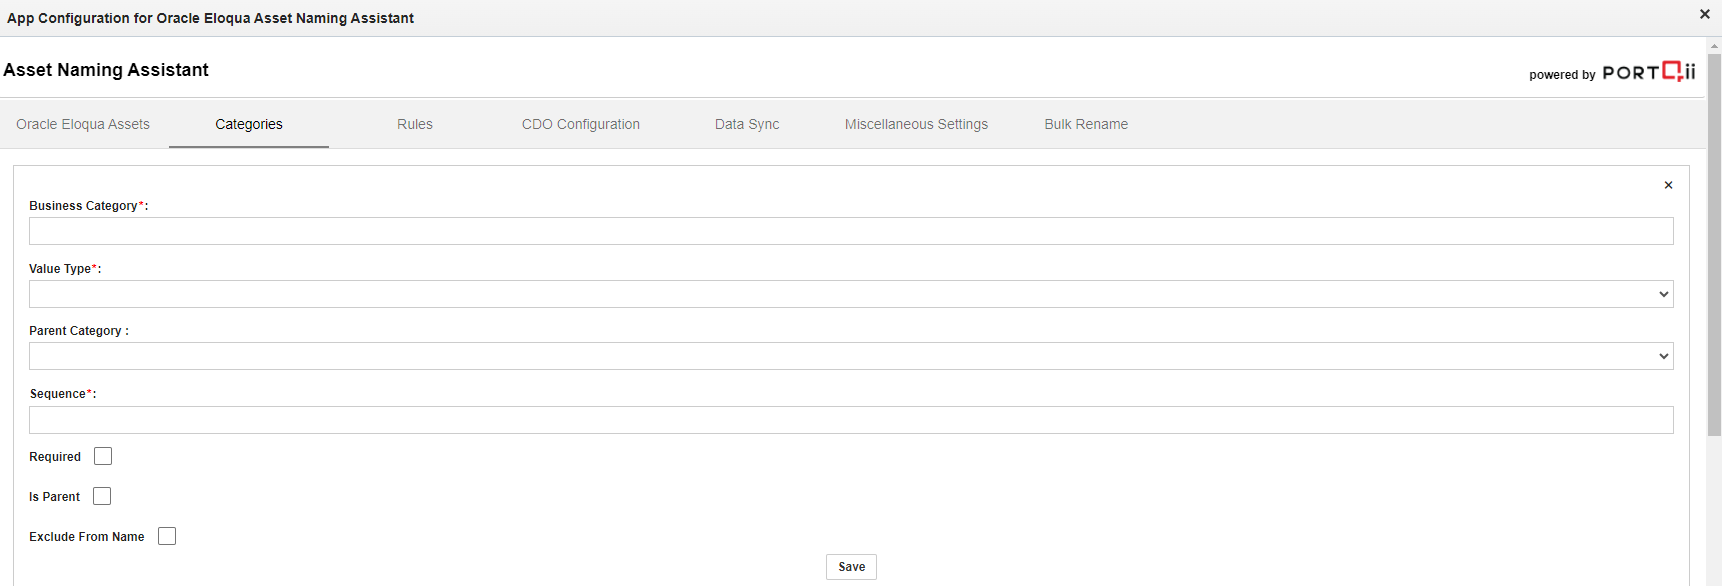
- Business Category: Enter the name of the Category
- Value Type: Choose from the three category types
- Parent Category: If you want some Categories to be a Parent of the current category, choose that category from the dropdown
- Sequence: The sequence or order in which this category will display in the asset name. All sequences are numbers and should be unique
- Required: Check this if the category is required to be filled while creating or renaming the asset
- Is Parent: If you want this Category as a Parent, click the checkbox. The "Parent Category" field will be set to None
- Exclude from Name: If you have categories for Custom Objects mapping or Campaign field sync mappings but not for the asset name, enable this field
After filling all the fields, click the Save button. A "Saved" message in green will display. The newly created category will display with all previously created categories, below the "Add" button in the order of the Category Sequence.
Editing a Category
You can make changes to a category with the following steps:
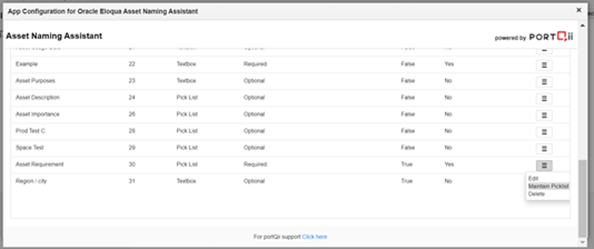
- From the table displayed, find the Action column at the end
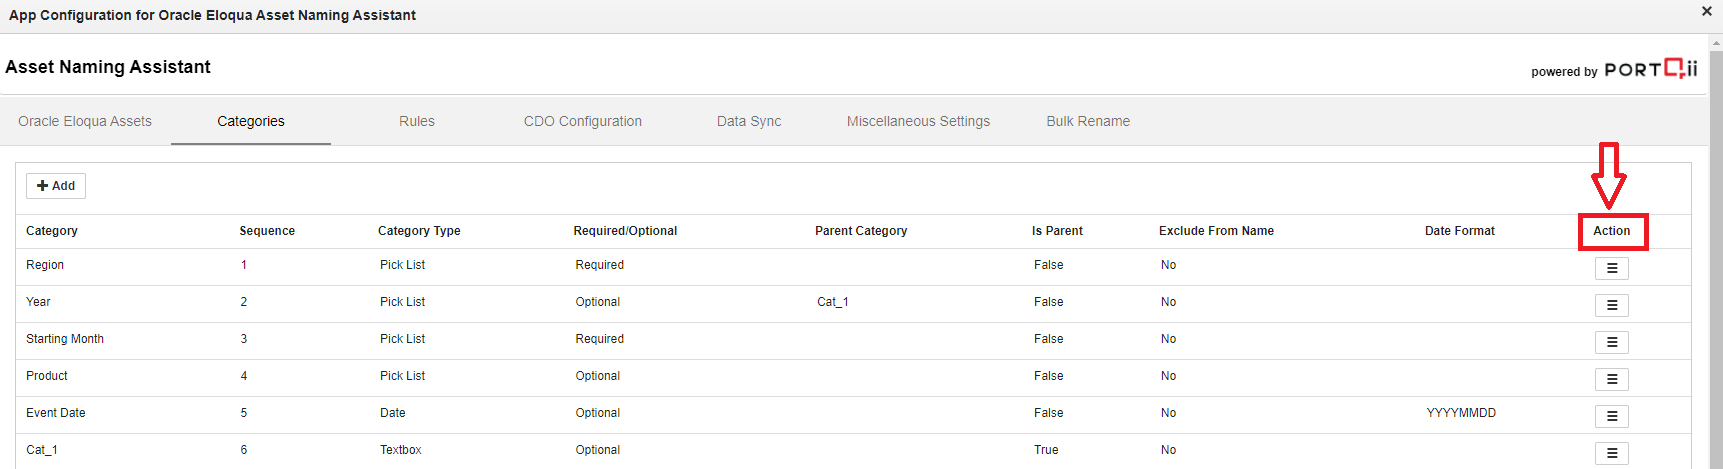
- Go to the Action column for the Category you want to edit
- Click the hamburger icon
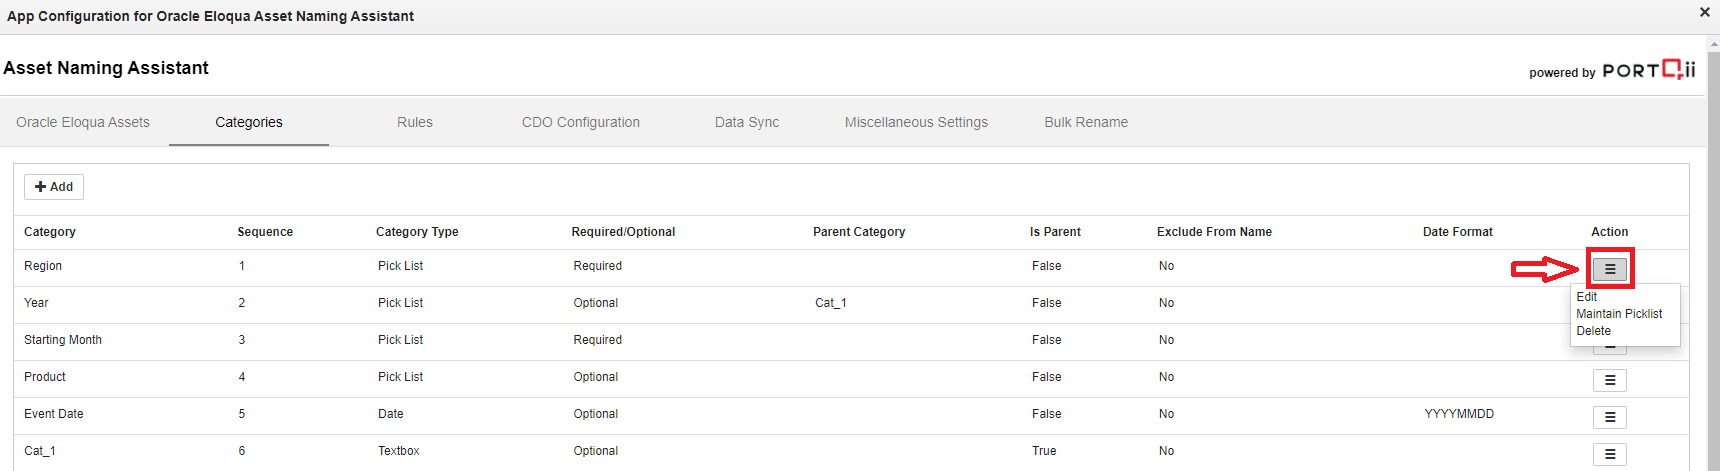
Two options appear upon clicking the hamburger icon, or three options if the Category Type is Picklist.
The functionality of each option:
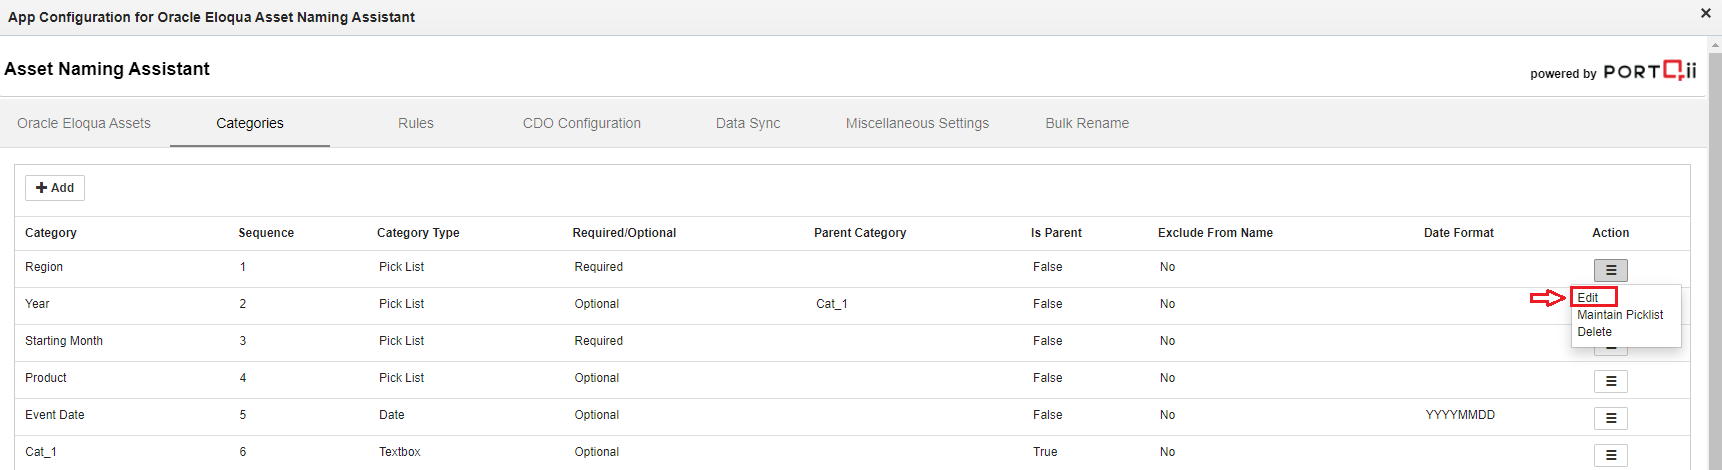
- Edit: To edit each field of the category
- Maintain Picklist: If the category type is a Picklist, you'll see this option
- Delete: If this category is no longer useful, you can delete it
The edit screen displays at the top of the page with the same fields as when adding a category. All current values are prepopulated. If you want to change the Sequence, enter only a Sequence that is not already used.
After making changes, click the Save button. A "Saved" message in green displays indicating your changes are saved.
If you don't want to make changes, click the X button at the top of the edit screen.
When you click Maintain Picklist:
If the category has existing picklists, they will display. If the Category is new, you'll have no pre-existing Picklists and will see a screen like this:
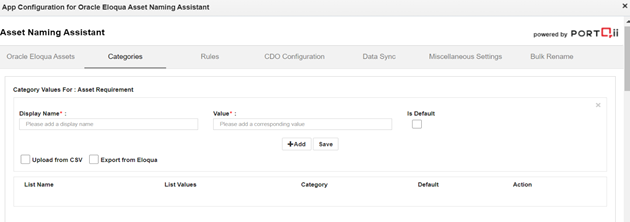
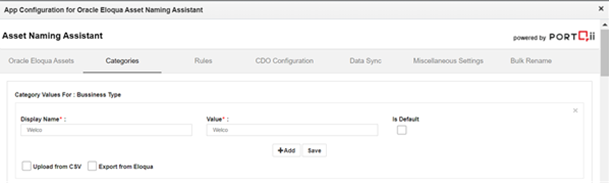
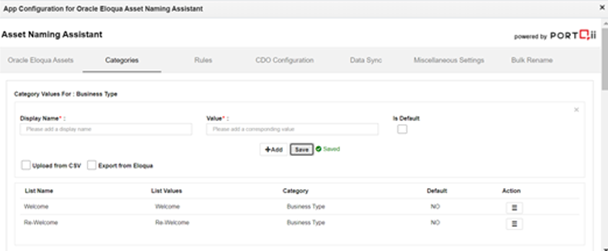
Category Values for: (Category Name)
- Display Name: The name that will be displayed for the picklist
- Value: The value of the picklist that will be used in the asset name
- Is Default: If checked, this value will be displayed first
Adding a Picklist
To create your own picklists, follow these steps:
Display Name: Start typing the "Display Name" and "Value" for the picklist will auto-populate. Change the "Value" if needed.
Is Default: Check the checkbox if you want this picklist's value as default.
Add: To upload multiple picklist values at once, click the "Add" button. A screen will appear as shown:
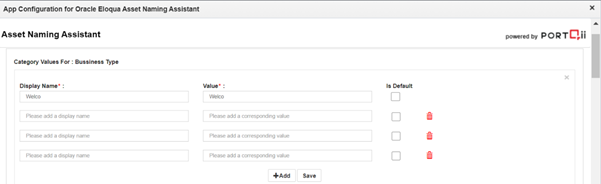
Add multiple values you want to add to the picklist:
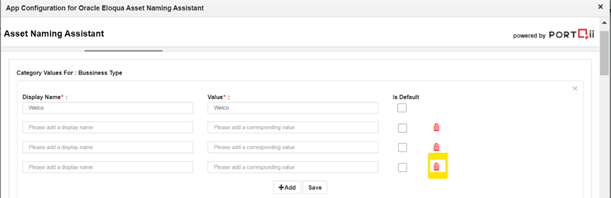
You can delete extra Picklist field boxes by clicking on the red-colored icon:
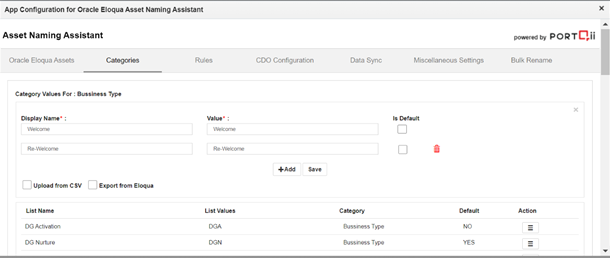
Click the Save button. A "Saved" message will appear and the picklist values will display:
Upload from CSV
If you have a record of picklists in a CSV file, you can upload the CSV file to use the picklists for naming assets.
Follow these steps to upload a CSV file:
- Click the checkbox to the left of "Upload from CSV". A screen displays:

Click the Browse button. A screen displaying all CSV files on your system will appear:
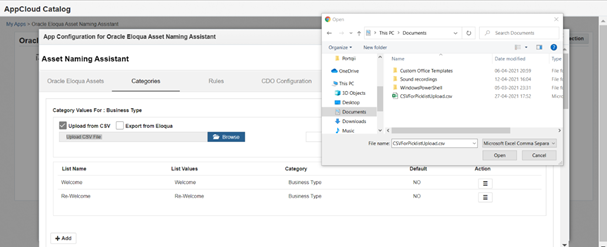
- Choose the CSV file that contains picklist values and click Open
- The name of your selected CSV file will display:
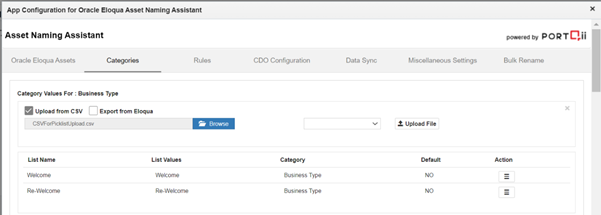
- From the dropdown, choose between Append and Overwrite
- Append: Adds your picklists from the file to the current values
- Overwrite: Removes all pre-existing picklist values and saves only values from the CSV file
- If no option is selected, Append is the default
- Click the Upload File button
- The picklist values from the file will be saved and displayed:
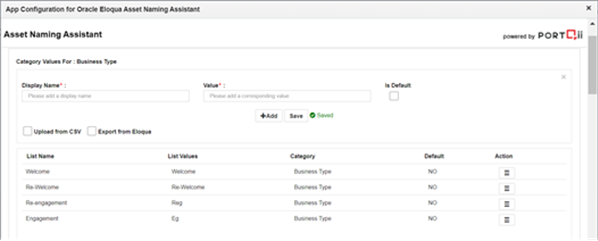
These picklist values will now be used for naming assets.
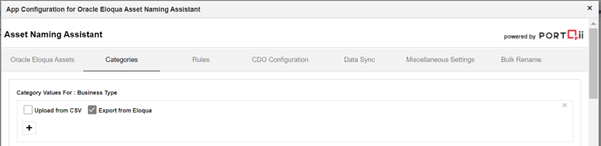
Export From Eloqua
To use a picklist created in Eloqua, follow these steps:
- Click the checkbox beside "Export from Eloqua". A screen will appear:
- Click the + icon
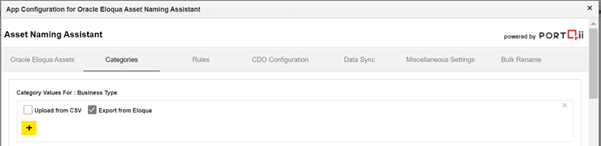
- The screen below will display:
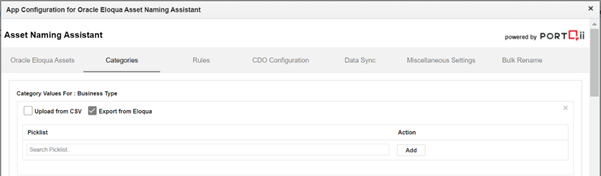
- In the "Search Picklist" box, type at least 3 characters to search for your Eloqua Picklist and select the one that matches your requirement:
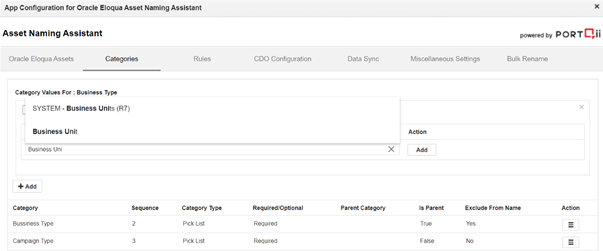
- If you've selected a wrong Picklist, click the X and type the name of the Eloqua Picklist you want to search for: